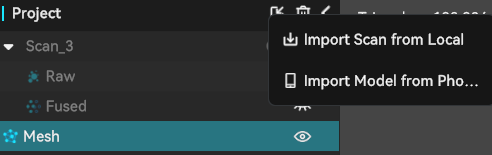
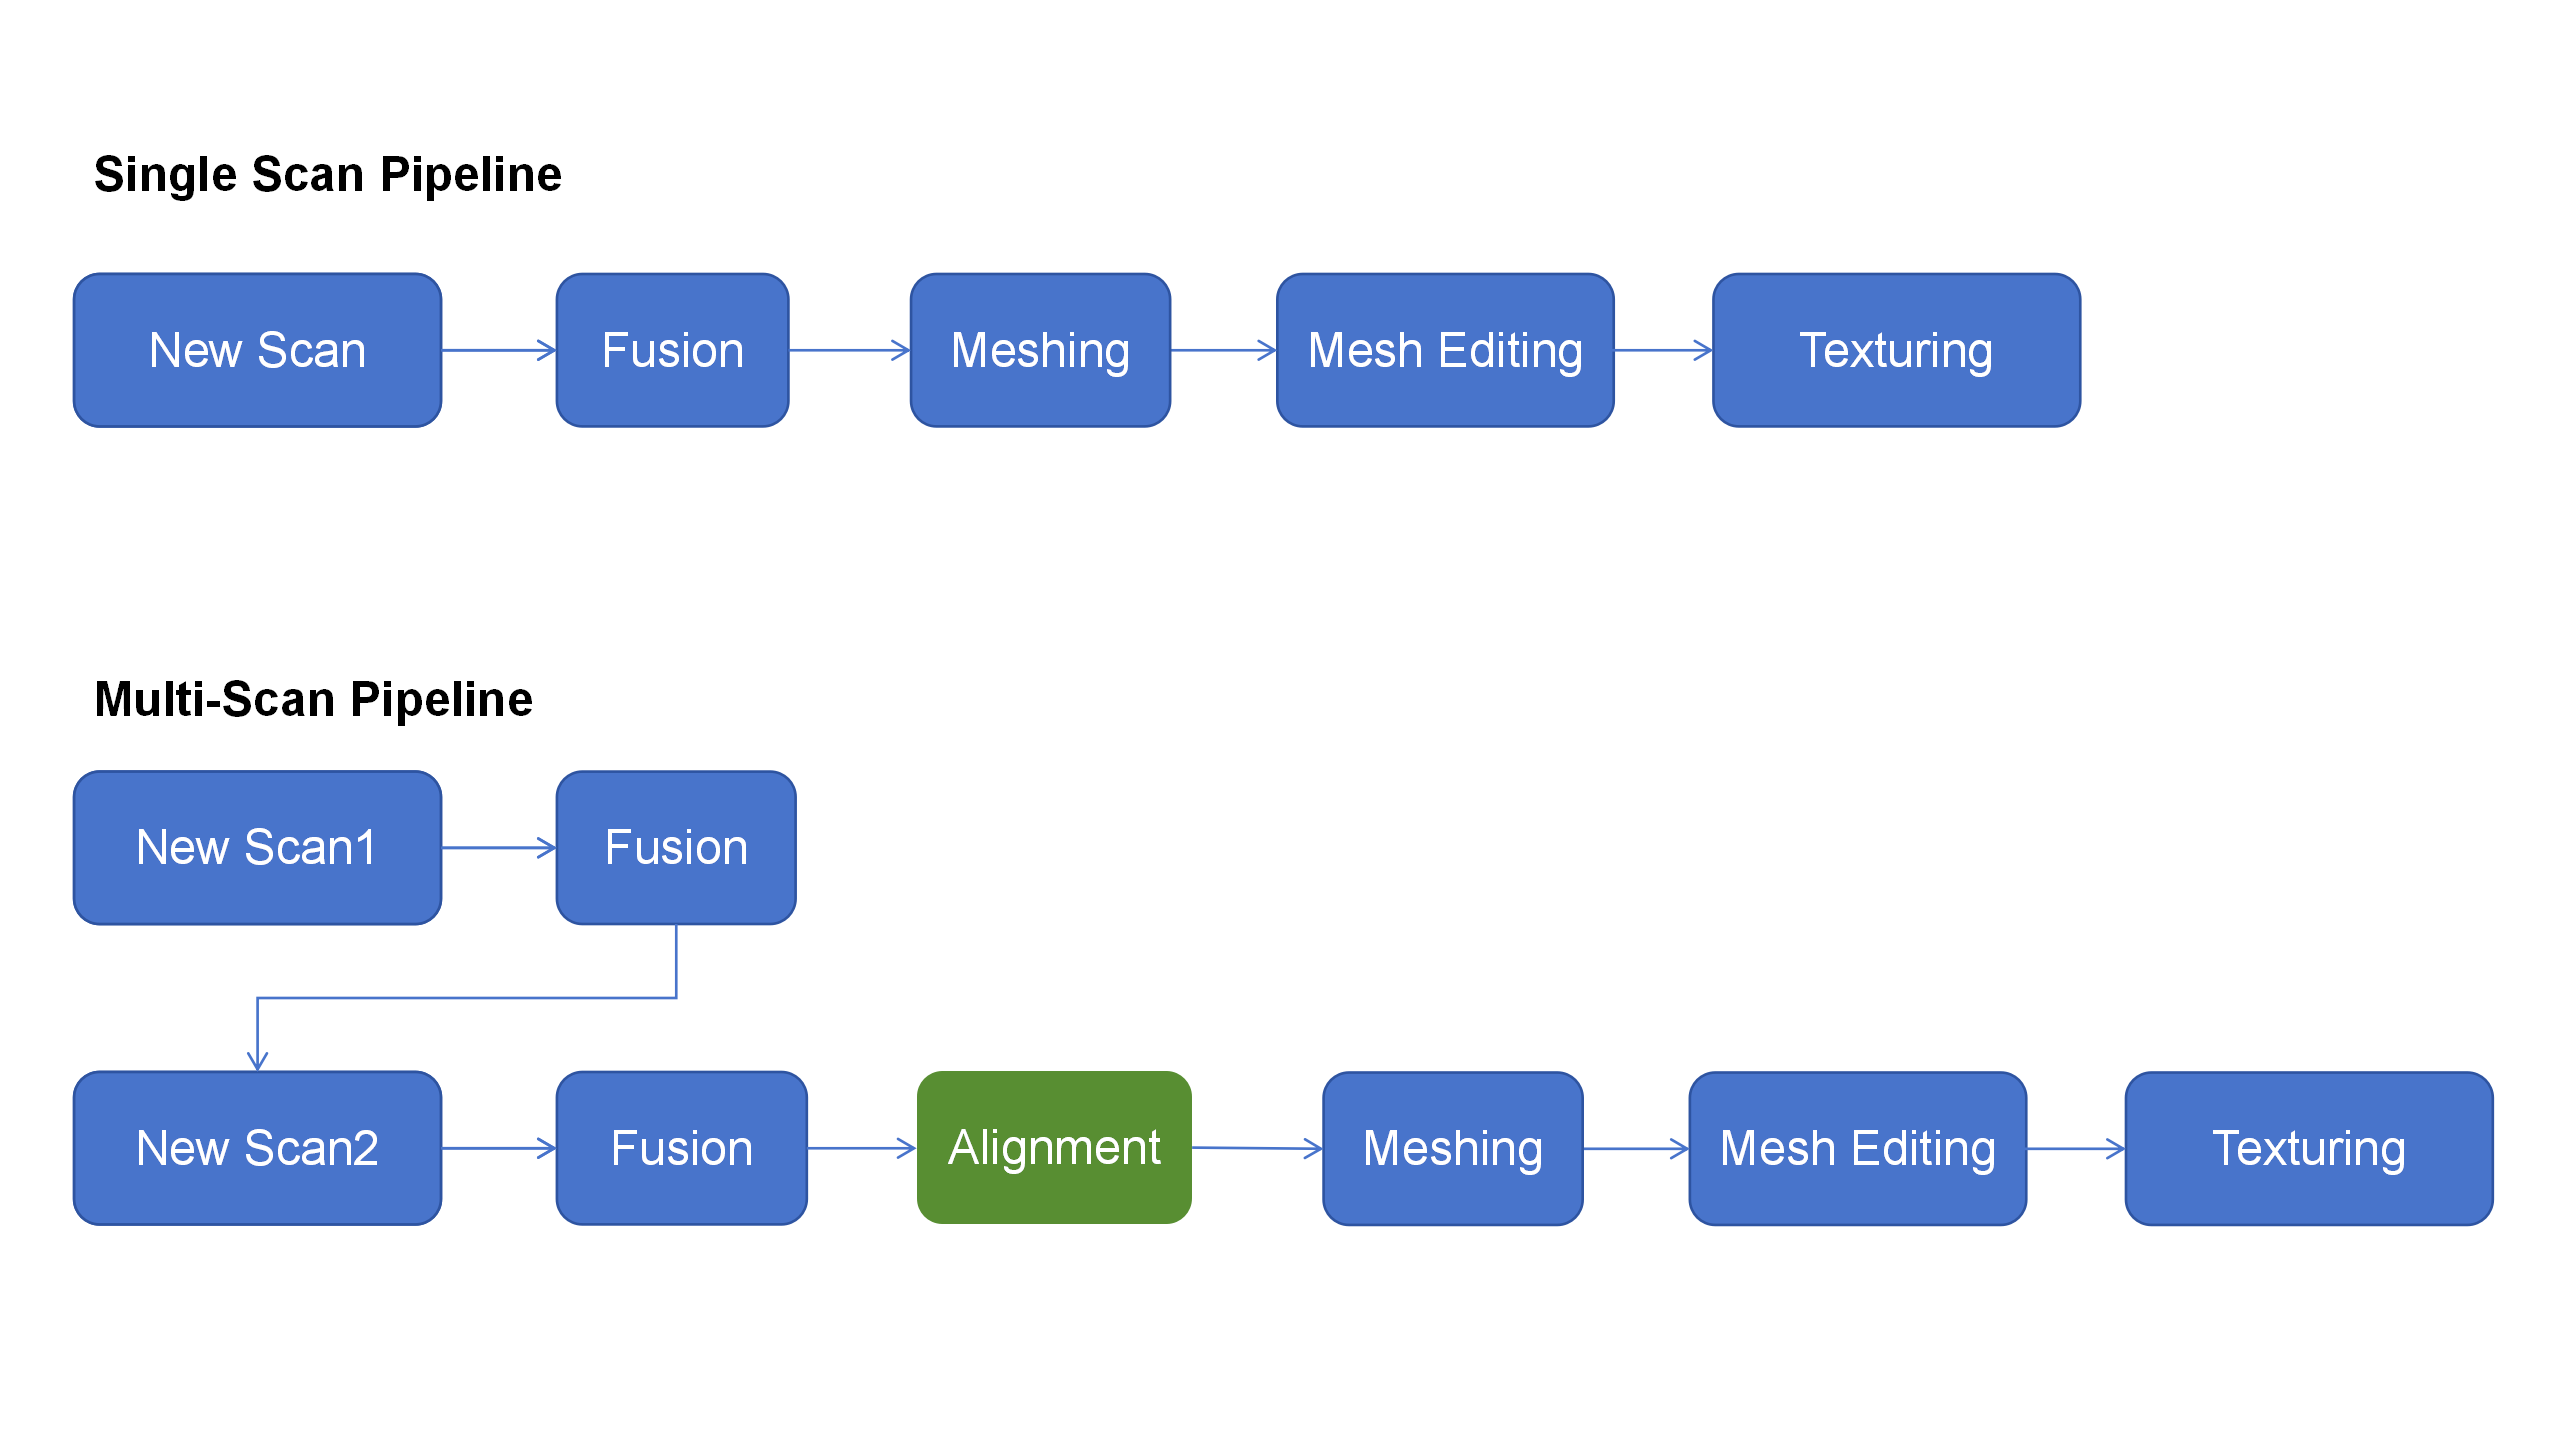
The Alignment function allows you to combine data from multiple scans into a single, complete model. This is especially useful when scanning larger objects. You can choose to create multiple scans from one project or import scans from another project.
¶ Multi‑Scan Pipeline
¶ Step-by-Step Instructions
When there are at least 2 projects that have undergone point cloud fusion in the Multi-Project Panel, click "Alignment" on the processing page to enter the Alignment page.
Multi-project Alignment provide 4 modes: Feature Alignment-Auto,Feature Alignment-Manual, Marker Alignment-Auto, Marker Alignment-Manual. You can switch between modes at the top of the left-side list:
- Automatic Alignment(Feature/Marker) requires sufficient common feature areas or markers between models.
- Manual Alignment(Feature/Marker) requires selecting at least three pairs of identical locations (e.g., the same corner, the same marker) on the models in the fixed window and the floating window to assist the software in completing the Alignment.
.png)
¶ Automatic Feature Alignment
The left sidebar shows the Model List. In the Automatic Feature Alignment mode, you can select two target sub-projects for Alignment from the Model List, And Click "Align" and wait for the Alignment process to complete.

¶ Manual Feature Alignment
The left sidebar displays the Fixed Window List and Floating Window List. In Manual Alignment mode, you can select one sub-project to be aligned from each of the two lists on the left, and display them in the corresponding Fixed Window and Floating Window respectively, and then select at least three pairs of matching points on the models in the Fixed Window and Floating Window.

Finally click "Align" and wait for the process to complete.

¶ Automatic Marker Alignment
The left sidebar displays the Mode list. In the Automatic Marker Alignment mode, you can select two target sub-projects for align from the model list, and click "Align" to wait for the process to complete.

¶ Manual Marker Alignment
The left sidebar displays the Fixed Window List and Floating Window List respectively. In the Manual Marker Alignment mode, you can select one target sub-project from each of the two lists on the left, and display them in the corresponding Fixed Window and Floating Window, and select at least three pairs of matching markers on the models in the Fixed Window and Floating Window.


¶ Application Scenario:
¶ Scanning the bottom of the object
When you need to scan the bottom of an object, you can place the object on a tabletop and scan the visible parts first. Then, create a new scan and position the object on its side or upside-down for another scan. Use the Alignment feature to align these two sets of pointclouds together, creating a complete 3D model of the object. During both scans, make sure that there are sufficient overlapping areas being captured.