CrealityScan offers a mesh Hole-Filling function, which can repairs incomplete meshes and generates a complete closed model. You can choose to fill holes automatically or manually.
This feature is very useful for 3D printing applications, as it helps you quickly repair the model, making it easier to import into slicing software (e.g., Creality Print) for subsequent slicing.
¶ Auto Hole Filling
1. Select a meshed model, then click Mesh Processing → Hole Filling.
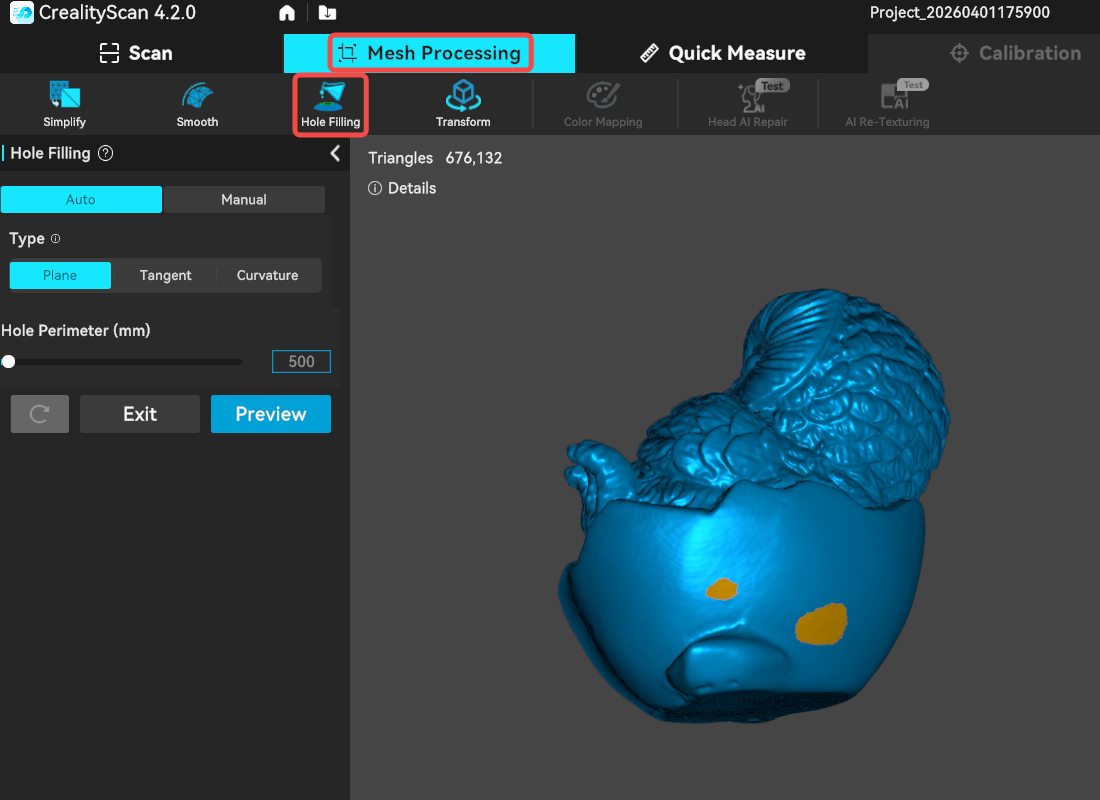
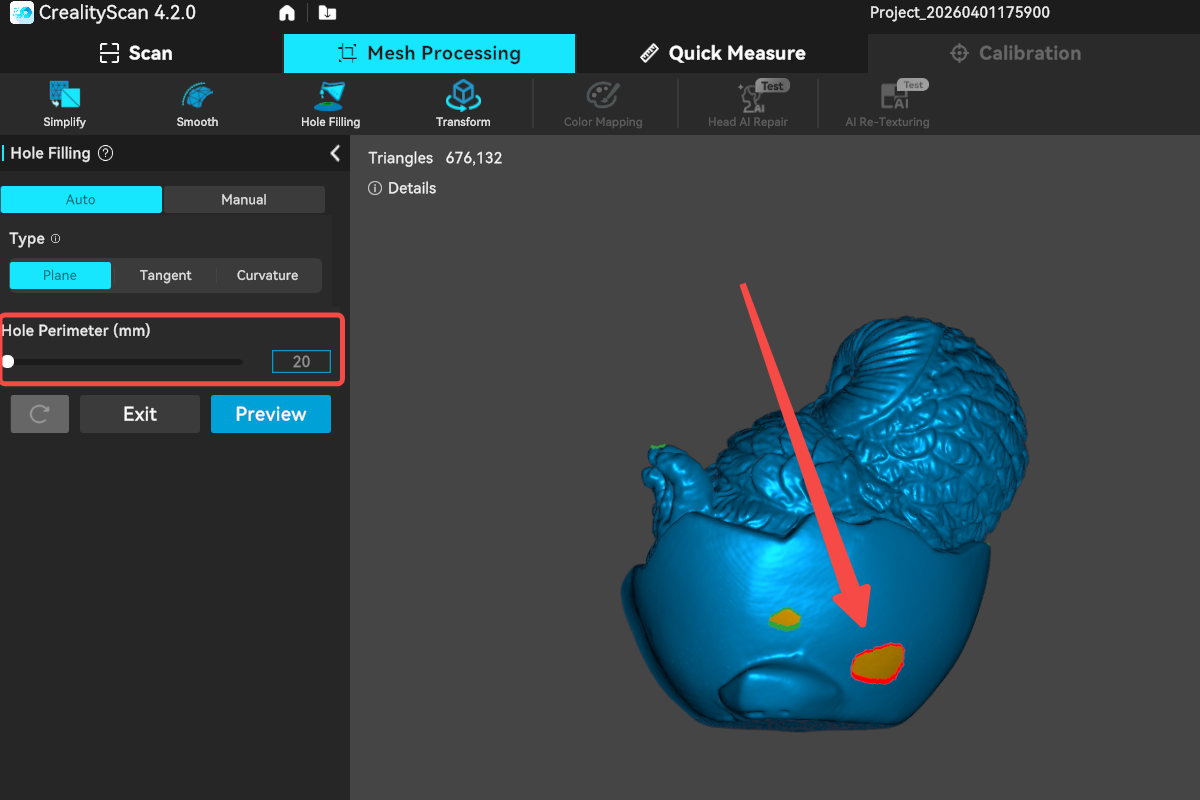
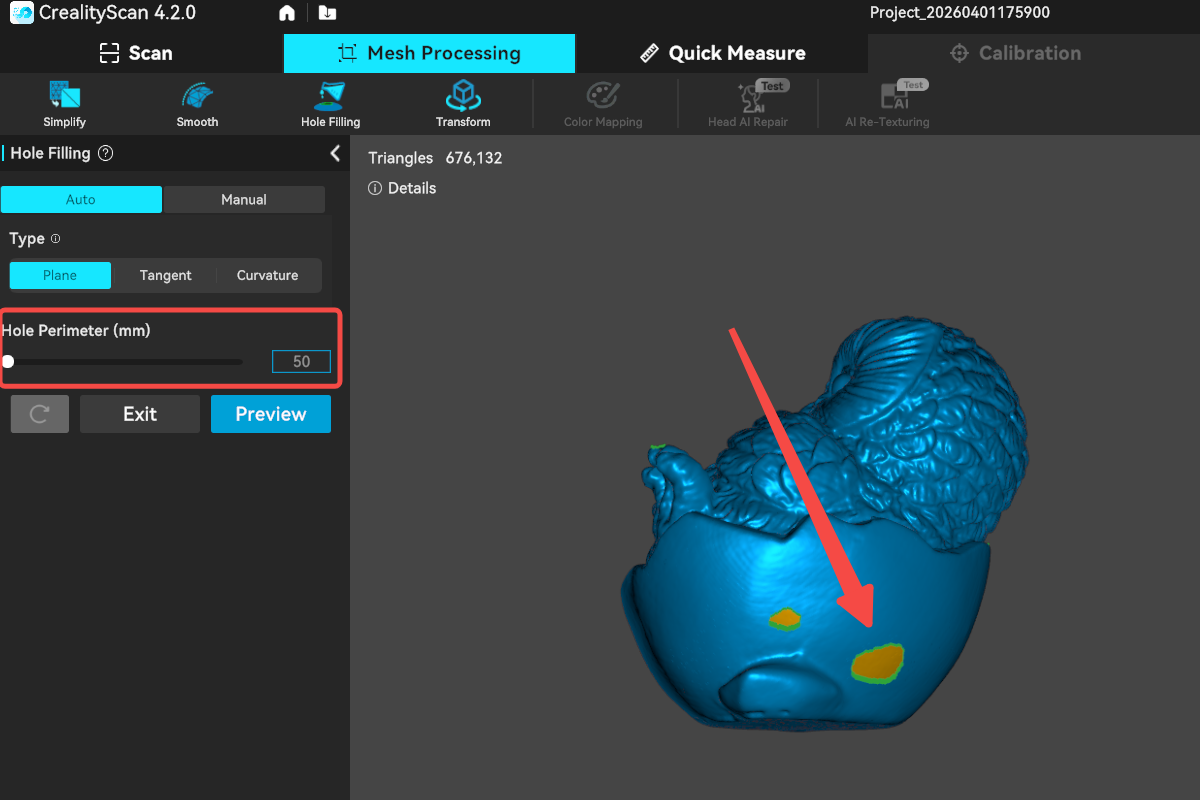
2. In the left window, adjust the hole perimeter(mm) by dragging the slider or entering a value manually. After adjustment, the software will highlight the holes to be filled on the model in real time: green indicates holes that will be filled, red indicates holes that will not be filled.
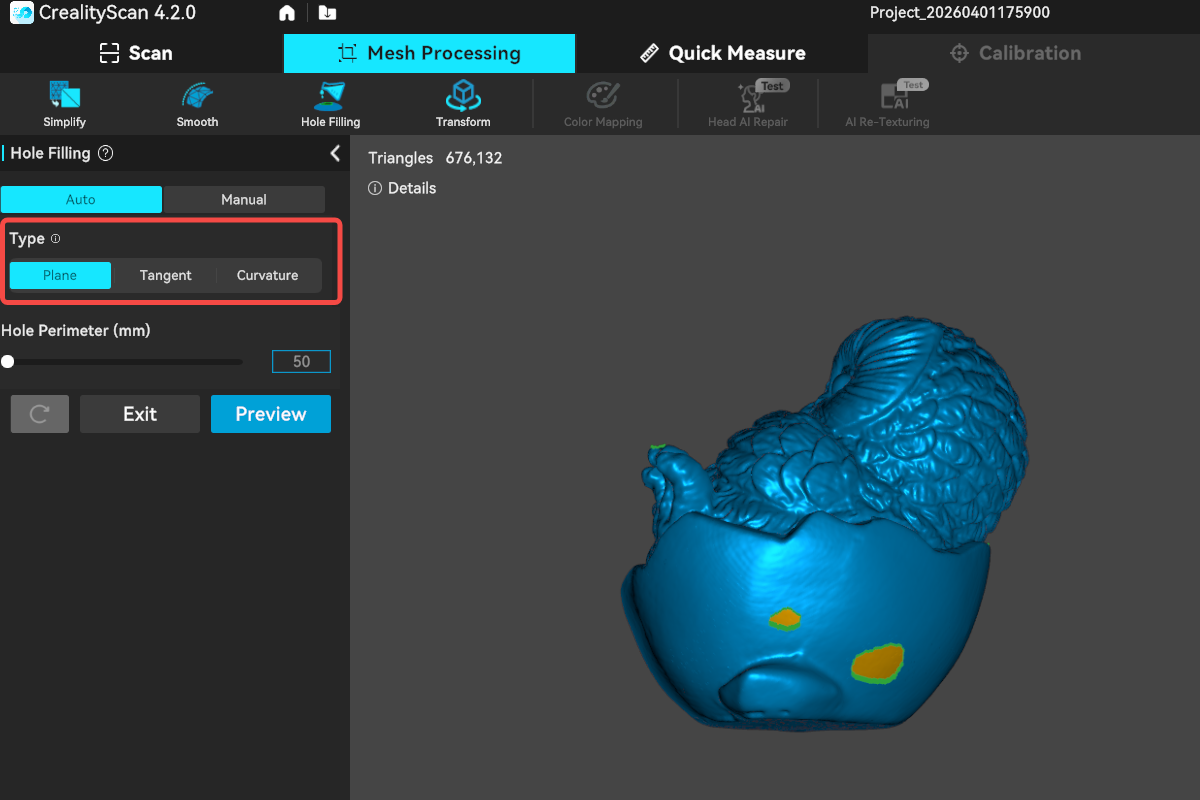
3. There are three types of hole filling: Plane, Tangent, and Curvature
- Plane: Fills the hole with a flat surface, ignoring surrounding curvature.
- Tangent: Maintains consistent boundary normal/tangent direction to achieve a smooth transition.
- Curvature: Fully matches the surrounding curvature variation to create a natural extension.
4. Click Preview to simulate the hole-filling effect. If the result is satisfactory, click Apply. If the hole-filling effect does not meet expectations, click Reset button to restore the default state, then adjust the setting again.
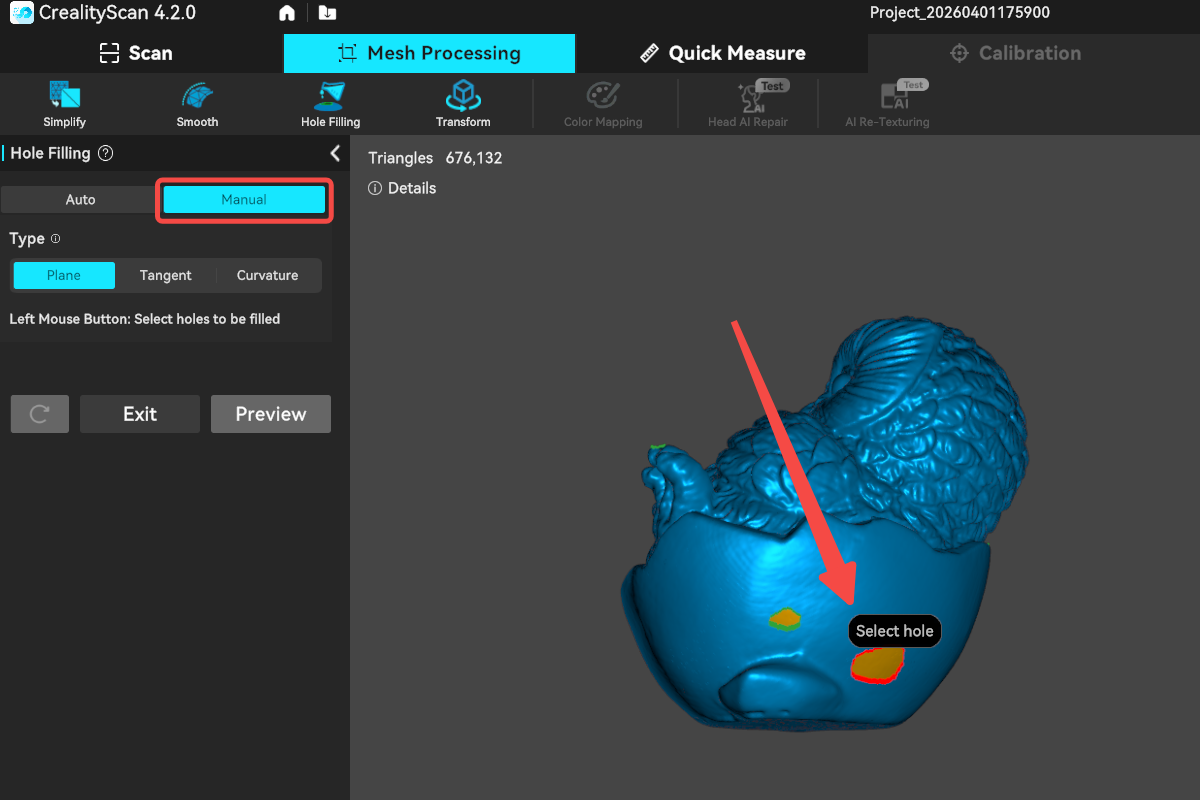
¶ Manual Hole Filling
1. Click the Manual button to switch to manual hole-filling mode.
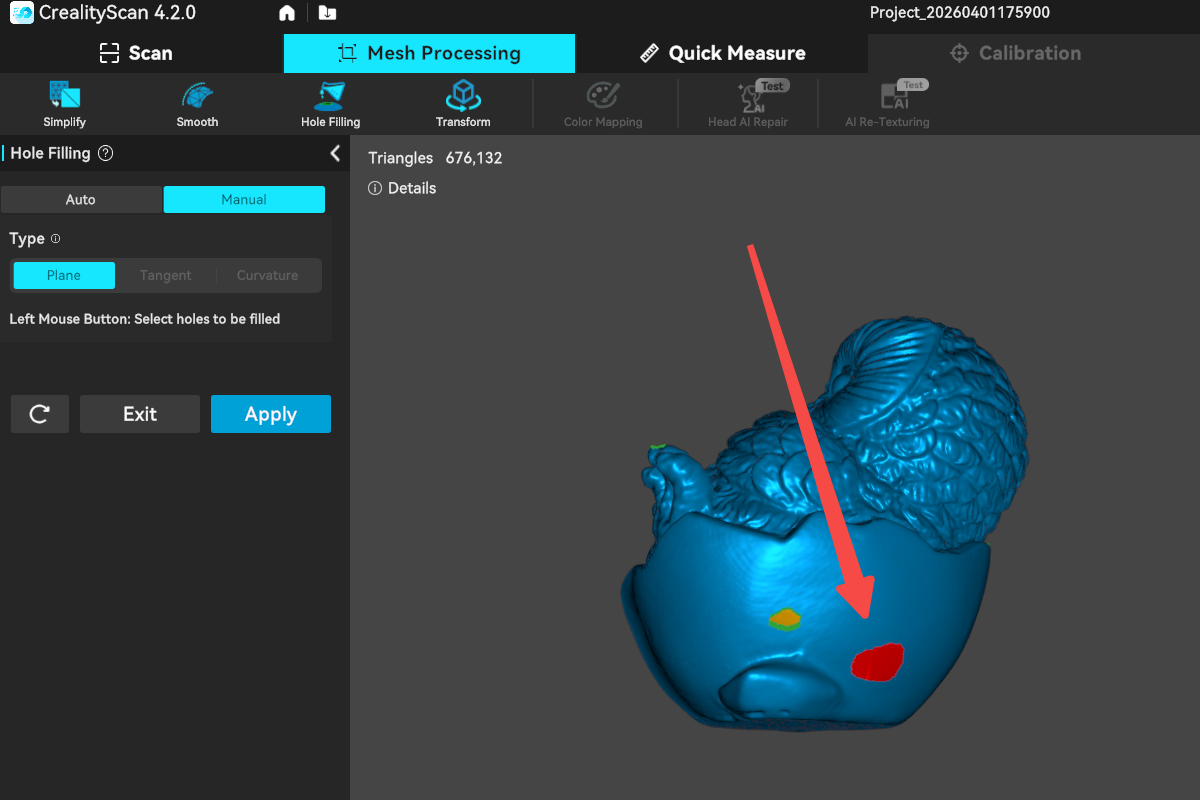
2. In this mode, move the mouse over the hole you want to fill and left-click to apply the fill. The software will fill the hole immediately and highlight the filled area in red for preview. Click Apply to save the hole-filling settings.